Sky 120 LMA Trainer
-
- Posts: 211
- Joined: March 29th, 2011, 3:17 am
- Contact:
Sky 120 LMA Trainer
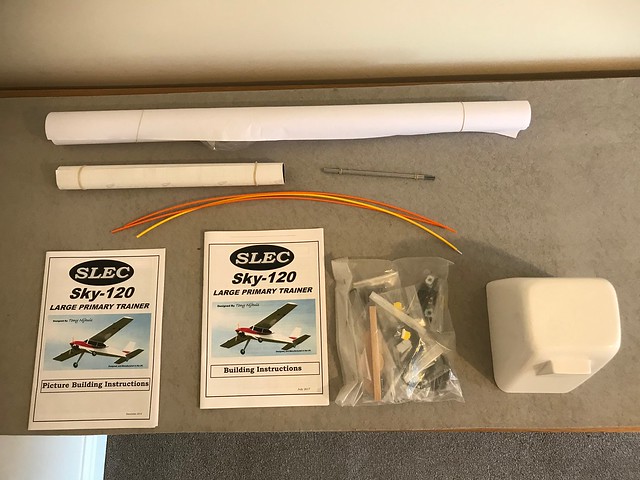
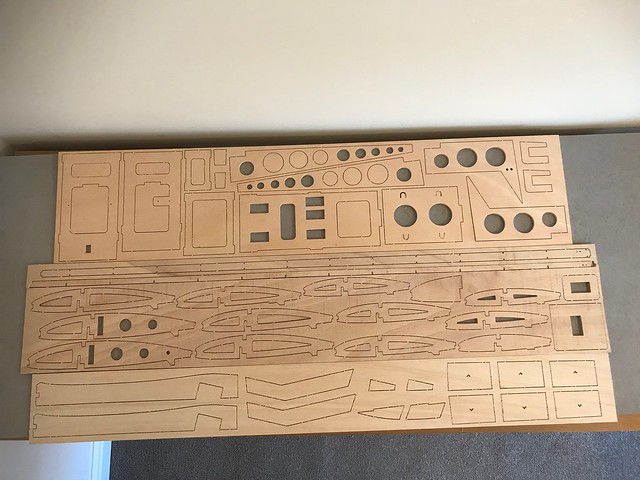
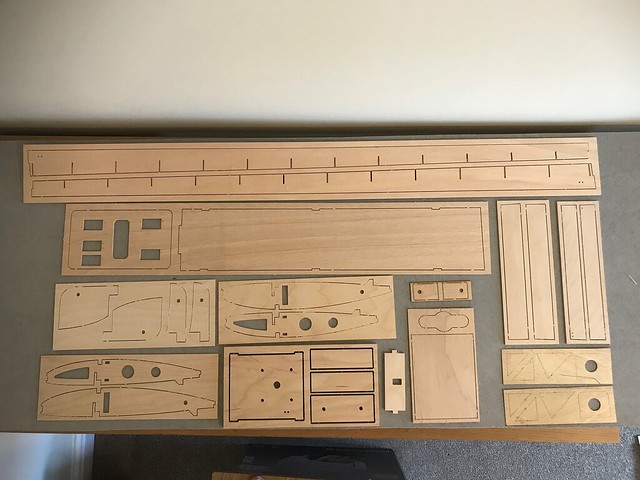
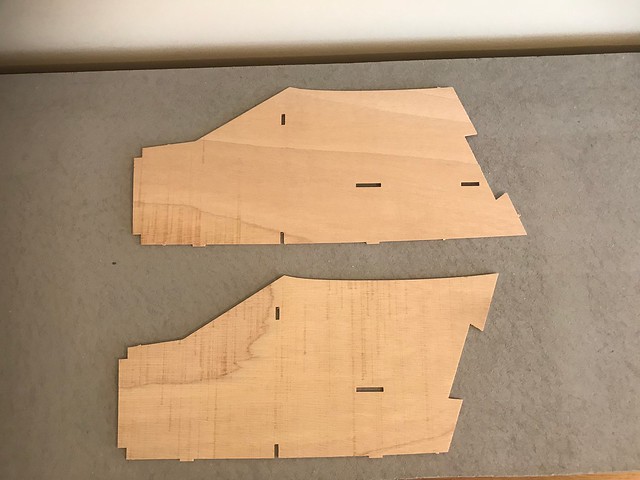
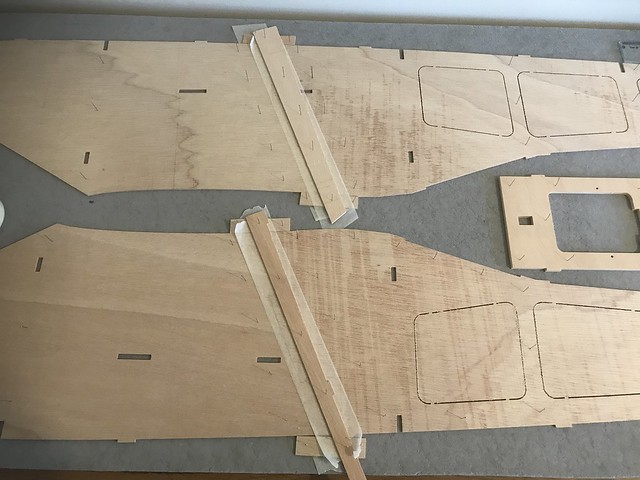
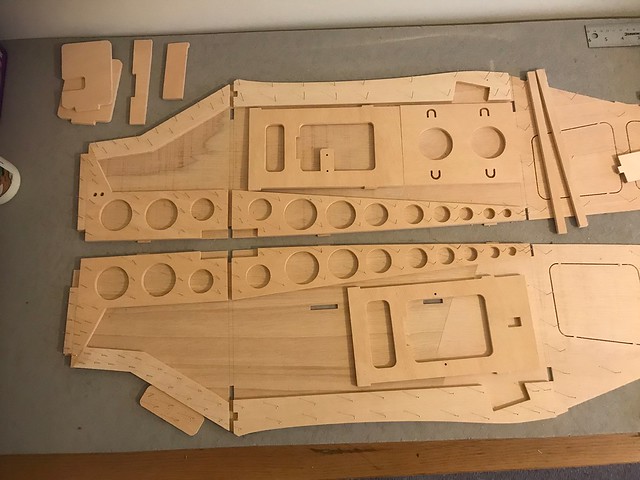
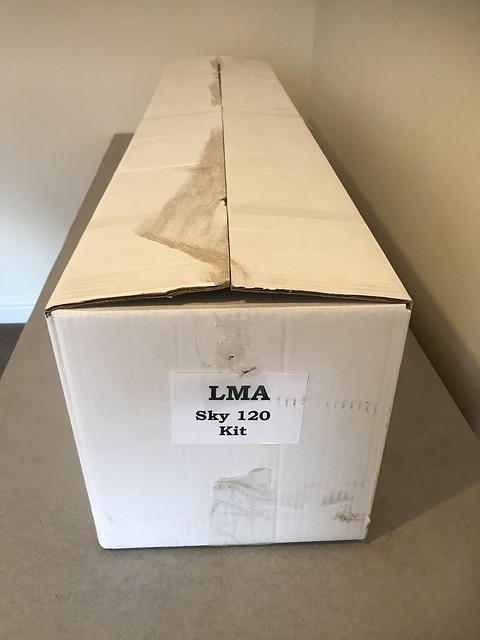
Thought would start this thread building the Sky 120 LMA Trainer, flickr account setup, I'm sure I will have many questions on different parts of the build process.
-
- Posts: 211
- Joined: March 29th, 2011, 3:17 am
- Contact:
-
- Posts: 211
- Joined: March 29th, 2011, 3:17 am
- Contact:
Re: Sky 120 LMA Trainer

Have had a good look at both instruction manuals.
-
- Posts: 211
- Joined: March 29th, 2011, 3:17 am
- Contact:
Re: Sky 120 LMA Trainer

Good strong U/C weighs 580g.
-
- Posts: 211
- Joined: March 29th, 2011, 3:17 am
- Contact:
Re: Sky 120 LMA Trainer

Tailplane, fin, rudder, elevators etc, all good quality light wood.
-
- Posts: 211
- Joined: March 29th, 2011, 3:17 am
- Contact:
Re: Sky 120 LMA Trainer

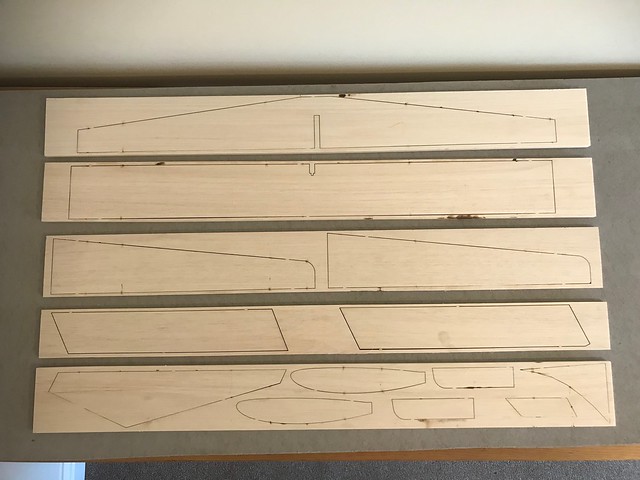
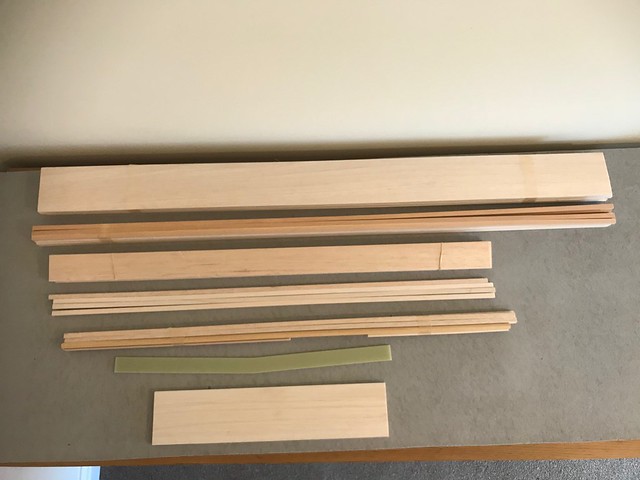
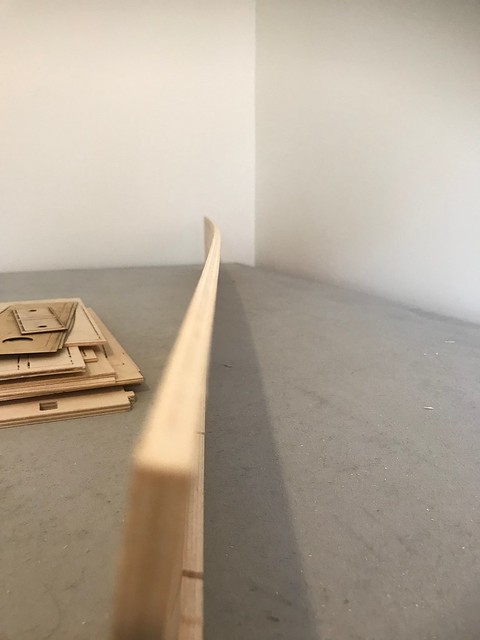
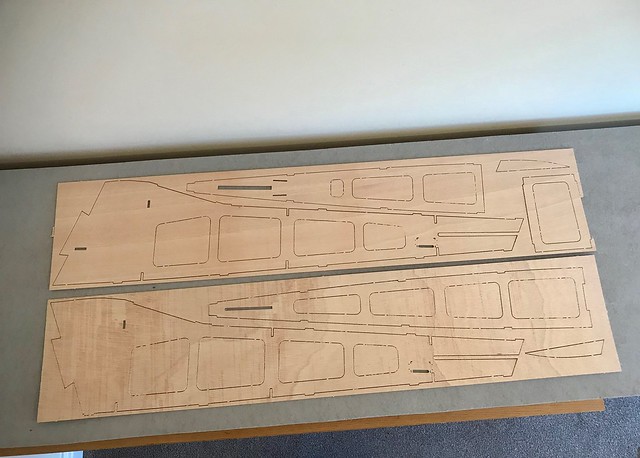
Sheet balsa for both wings, various strip wood, TE third stirp of wood down in the photo, some small damage to the wood which I think can be easly fixed, good strong wing joiner, not sure yet to make a one peice wing or build 2 halfs, laft and right.
-
- Posts: 211
- Joined: March 29th, 2011, 3:17 am
- Contact:
Re: Sky 120 LMA Trainer

Wing ribs and fuselage formers.
-
- Posts: 211
- Joined: March 29th, 2011, 3:17 am
- Contact:
Re: Sky 120 LMA Trainer

Main spar for the wings at the top of this photo are warped a little not sure the best way to make these flat.
-
- Posts: 211
- Joined: March 29th, 2011, 3:17 am
- Contact:
Re: Sky 120 LMA Trainer

Wing spar taken at a different angle.
-
- Posts: 211
- Joined: March 29th, 2011, 3:17 am
- Contact:
Re: Sky 120 LMA Trainer

Fuselage sides.
-
- Posts: 211
- Joined: March 29th, 2011, 3:17 am
- Contact:
Re: Sky 120 LMA Trainer

Front fuselage parts.
-
- Posts: 211
- Joined: March 29th, 2011, 3:17 am
- Contact:
Re: Sky 120 LMA Trainer
Fuselage Step 1

F1 and F2 right side fuselage, F7 and F8 left side fuselage sides glued together and secured in place.

Good fitting after removing supported balsa.

F1 and F2 right side fuselage, F7 and F8 left side fuselage sides glued together and secured in place.

Good fitting after removing supported balsa.
-
- Posts: 211
- Joined: March 29th, 2011, 3:17 am
- Contact:
Re: Sky 120 LMA Trainer
Fuselage Step 10

Parts F31 glued to rear of fuselage both sides to F2 and F8.

Parts F31 glued to rear of fuselage both sides to F2 and F8.
-
- Posts: 211
- Joined: March 29th, 2011, 3:17 am
- Contact:
Re: Sky 120 LMA Trainer
Fuselage Steps 5, 6, 9.

Parts F14, F17 glued to F1, parts F16, F19 glued to F2 right side fuselage.
Parts F15, F17 glued to F7, parts F16, F19 glued to F8 left side fuselage.

Parts F14, F17 glued to F1, parts F16, F19 glued to F2 right side fuselage.
Parts F15, F17 glued to F7, parts F16, F19 glued to F8 left side fuselage.
-
- Posts: 211
- Joined: March 29th, 2011, 3:17 am
- Contact:
Re: Sky 120 LMA Trainer
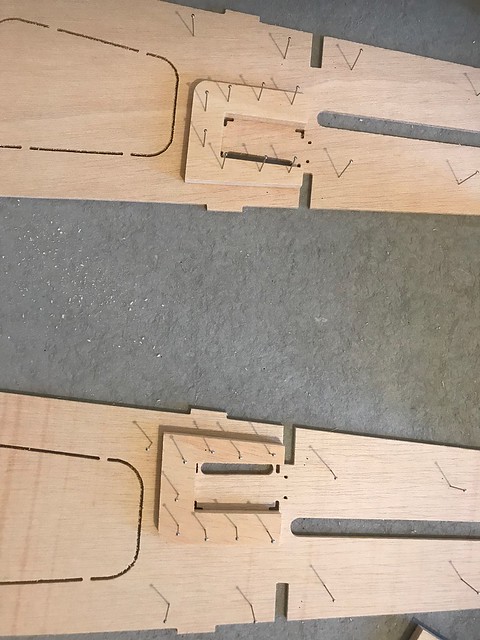
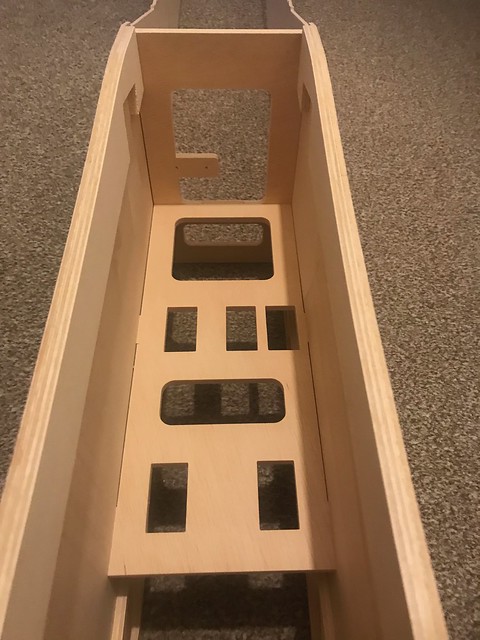
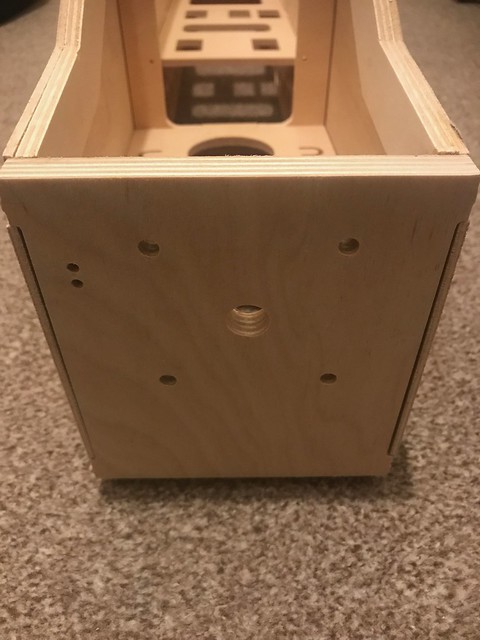
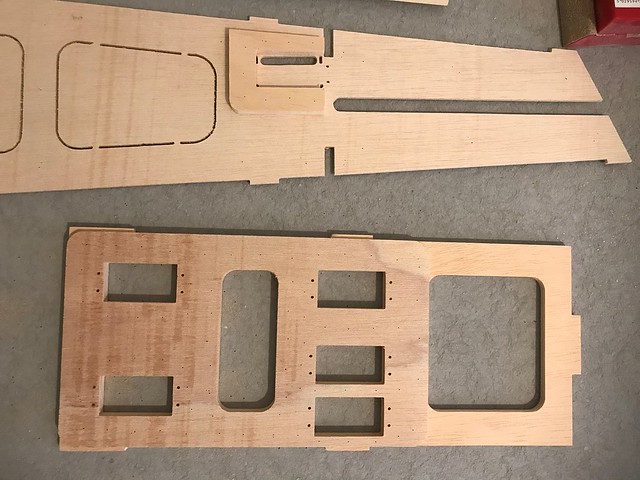
I have done a trail fit of both fuselarge sides together with F3, F4 and F13 fire wall, with the ZG38 being mounted upside down is F4 and F13 correctly positioned for the engine.
F4 view looking towards the tail.

F13 firewall looking towards the tail.

F4 view looking towards the tail.

F13 firewall looking towards the tail.

-
- Posts: 211
- Joined: March 29th, 2011, 3:17 am
- Contact:
Re: Sky 120 LMA Trainer
paul smith wrote:nice
Thank you.
-
- Posts: 211
- Joined: March 29th, 2011, 3:17 am
- Contact:
Re: Sky 120 LMA Trainer
Fuselage Step 4
Parts F27, F6 and ready to be glued together.

Parts F27, F6 glued together, no gaps between the 2 parts.

Parts F27, F6 and ready to be glued together.

Parts F27, F6 glued together, no gaps between the 2 parts.

-
- Posts: 211
- Joined: March 29th, 2011, 3:17 am
- Contact:
Re: Sky 120 LMA Trainer
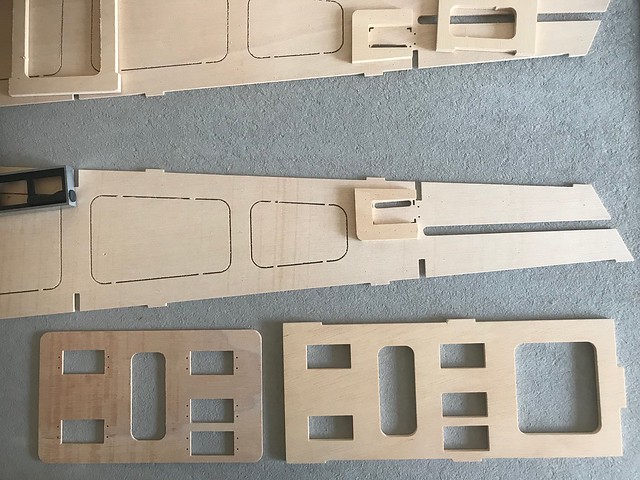
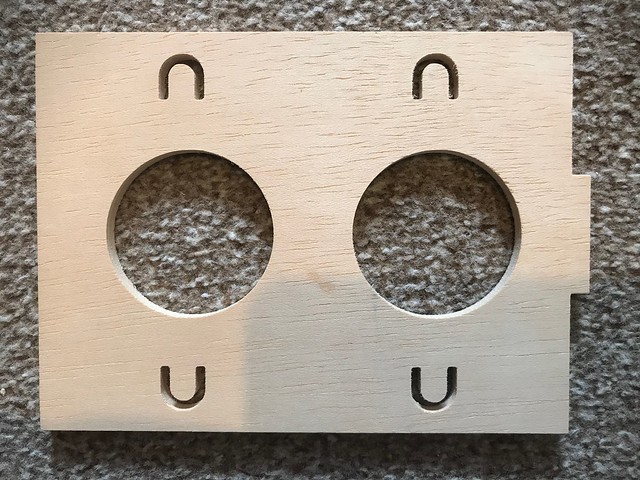
This is part F5 which is glued to F3, F5 is where the fuel tank is placed on top of, what is or the best way to secure the fuel tank, by bungies where the 4 U bend slots are made or use velcro.


-
- Posts: 211
- Joined: March 29th, 2011, 3:17 am
- Contact:
Re: Sky 120 LMA Trainer
Feselage Step 8
Part F18 ready to Epoxy to part F3.

Part F18 Epoxy to part F3 and clamped.

Part F18 ready to Epoxy to part F3.

Part F18 Epoxy to part F3 and clamped.

Who is online
Users browsing this forum: No registered users and 15 guests